Simran Arora
Size chart on the product page

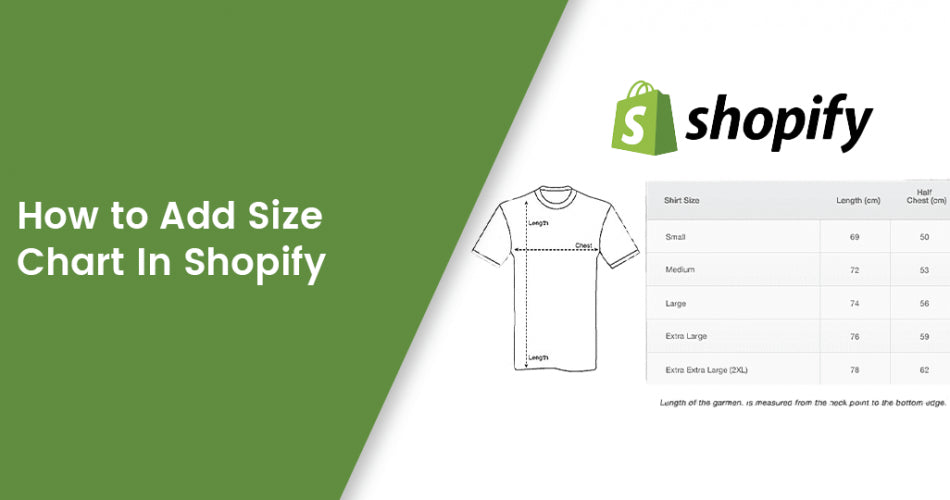
Nowadays, a common feature you will see on the sites is the size chart on the product page. Basically, the size chart helps the customers to determine their size on the site.
What is a size chart?
A chart or an image which will help the customers to determine their measurements is known as size chart. A size chart is a document that reflects the measurements for your size range within your brand.
Purpose and use of size chart?
Basically, shoes and clothes sites need the size chart more as it is essential for the customers to buy the product according to their preferences and sizes. This size chart is required on the site so that customers can easily check their measurement and take the product according to the size from the site.
Where can we have a size chart on the site?
A size chart is a must when someone buys the product. We can have a size chart option on the product page of the site so that the customer directly buys the product from there. An experienced developer can help you to place this on your site.
How to achieve the Size chart functionality:
Basically there are two methods to achieve the functionality of a size chart.
1. App
2. Custom code
Firstly, All products that require reference to the size chart must have a Size option whether using app or custom code.

1. By App:
We can have a size chart through the app and it will work absolutely fine with the app too. There are various apps which can help you to have a size chart on the product page. For integration of any app you can hire an experienced Shopify developer . The main drawback for using the app is that it will affect the speed as compared to custom code as custom code didn’t affect your speed of the site much but this affects
2. By Custom code:
We can have the size chart functionality through custom code as well. A Professional developer can easily make the size chart on the product page.
The steps to achieve this functionality through custom code:
1. Basically we have to work only on the Three code files.
A) size-chart.liquid
B) theme.liquid
C) product-template.liquid
D) Admin part
A) In the size-chart.liquid
Here is the Code:
<div class="pop-up-modal"> <div class="pop-up-content"> <span class="close-button">×</span> <span class="size-chart-content"><p><img src="https://cdn.shopify.com/s/files/1/0550/8635/0552/files/Screenshot_31_480x480.png?v=1660635338" alt=""></p></span> </div> </div> <script> function toggleModal() { modal.classList.toggle('show-pop-up'); } function windowOnClick(event) { if (event.target === modal) { toggleModal(); } } trigger.addEventListener('click', toggleModal); closeButton.addEventListener('click', toggleModal); window.addEventListener('click', windowOnClick); </script> <style> .pop-up-modal { position: fixed; left: 0; top: 0; width: 100%; height: 100%; background-color: rgba(0, 0, 0, 0.5); opacity: 0; display: none; transform: scale(1.1); transition: visibility 0s linear 0.25s, opacity 0.25s 0s, transform 0.25s; } .pop-up-content { position: absolute; top: 50%; left: 50%; transform: translate(-50%, -50%); background-color: white; padding: 1rem 1.5rem; width: auto; border-radius: 0.5rem; } .pop-up-content table { table-layout: auto; } .close-button { float: right; width: 1.5rem; line-height: 1.5rem; text-align: center; cursor: pointer; border-radius: 0.25rem; background-color: lightgray; } .close-button:hover { background-color: darkgray; } .show-pop-up { z-index: 12; opacity: 1; display: block; transform: scale(1); transition: visibility 0s linear 0s, opacity 0.25s 0s, transform 0.25s; } .trigger-pop-up { margin: 10px 0 10px 0; width: 100%; } @media only screen and (max-width: 749px) { .pop-up-content, .size-chart-content table { width: 100%; } .size-chart-content th, .size-chart-content td { padding: 10px; } } </style>
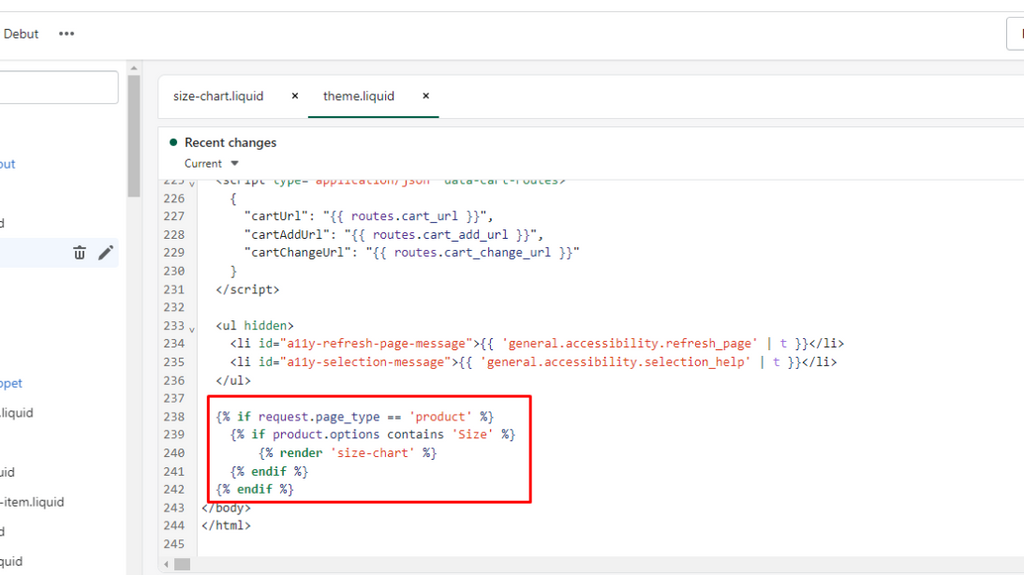
B) In the theme.liquid Add the size chart snippet into your theme.liquid 1) In the Layout directory, click to open your theme.liquid file

Find the closing </body> tag. Right above the closing </body> tag, paste the following code:
Here is the code:
{% if request.page_type == 'product' %} {% if product.options contains 'Size' %} {% render 'size-chart' %} {% endif %}
{% endif %}
1. In the Sections directory, click to open your product-template.liquid file
2. Paste the following code above the Add to cart button:
{% if product.options contains 'Size' %} <a class="trigger-pop-up btn">See Size Chart</a> {% endif %}

D) Now add the size chart in the admin in files.
1) Firstly open settings and go to files.

2) Upload the size chart image

3) Now edit the size-chart snippet and add the URL link of the image in it.

Final Output :


